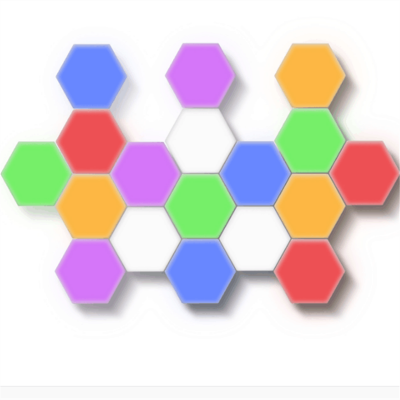
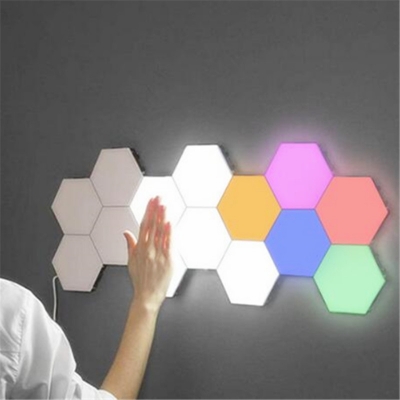
Colorful LED Touch and Remote Control Creative honeycomb quantum light

Specifications:
Size of the Product (L X W X H) : 4.1×3.5 x 1.2 IN; 10.3 x 9 x 3 CM
Input Power Supply: 5V 2A
Lumens: 120LM
Output Power: 5V
Remote Control Range: 15-24 feet; 5-8 meters
Light Source: 10 RGB LED
Power Consumption: 1.2W
Light Source: 6 LED
Length of USB Cable: 5 Feet/1.5 Meters
Packing: 10pcs/box; 200pcs/ctn; 56*38*33cm; 16.5kg
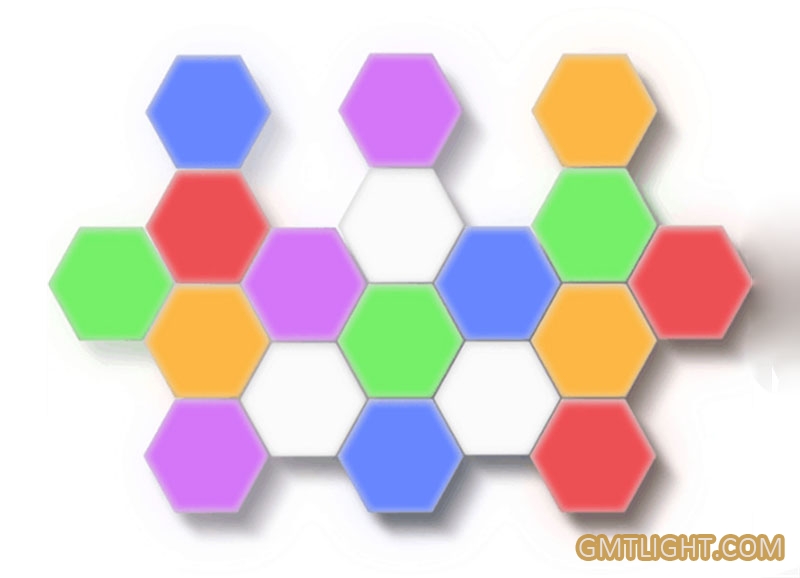
The colorful dual-control style, the remote control function can change color by touch, can also change color by remote control, can also be timed, and can also adjust the brightness, which is rich in functions.
The functions of the remote control:
ON/OFF Button: Function is Turn On/Turn Off
FLASH Button: Function is Makes all colors glow
FADE Button: Function is Smoothly Shuffles Colors
JUMP Button: Function is Quickly Changes Colors
CLOCK Button: Function is Sets LED Lights on a Timer -Turn Off in 30 Minutes
Color Selections Button: Function is Choice of Colors
Arrow Upward: Function is Brightness Up (4 grade)
Arrow Downward: Function is Brightness Down (4 grade)

Cautions:
1. Please only use a high-quality Adapter(Output 5V 2A)or the Lights will not work properly
2. Do not connect more than eighteen(18) LED Touch Lights on one outlet.
3. The center of the Light responds best to the Touch function


Installation Instructions:
1. Place all Lights face-down. Insert PCB Boards to connect the Lights. Build a design shape of your choice.
2. Snap in the triangle Connectors on some corners of the Lights to keep the unit sturdy.
3. Insert the USB Cable into the Adapter. Find the USB Port on the Light closest to the desired wall outlet
Connect the other end of the USB Cable to the LED Touch Light. Plug the Adapter into the wall outlet
4. Make sure every Light works. Try using different PCB Boards if any Lights don't work
5. Unplug the Adapter, then place the Lights face-down on a flat surface
Peel the paper from the Double-sided Adhesive, and paste one side in the circled back on the Lights
6. Find a place to display the Lights. After cleaning and drying the area, press the Adhesive Tape to the wall
The PCB Boards are strong enough. To further support the Lights on a Hook, Nail, or Screw(not included
7. Plug the Adapter back into the wall outlet
Touch the Lights to individually turn on and off the lights to customize your glow
8. Free USB Ports on the Lights can be used to charge other device
Please, DONI supply power to any other device while all the Lights are lighted


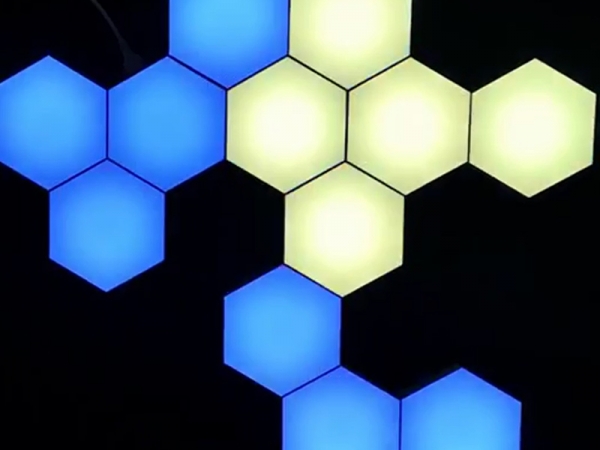
 Through Authenticate


